Top search terms
Home
/
PowMr MPPT Solar Charge Controller 60 amp 48V 36V 24V 12V Auto - Max 160VDC Input, LCD Backlight Solar Charge Controller for Vented Sealed Gel NiCd Lithium Battery【Software Update Version】

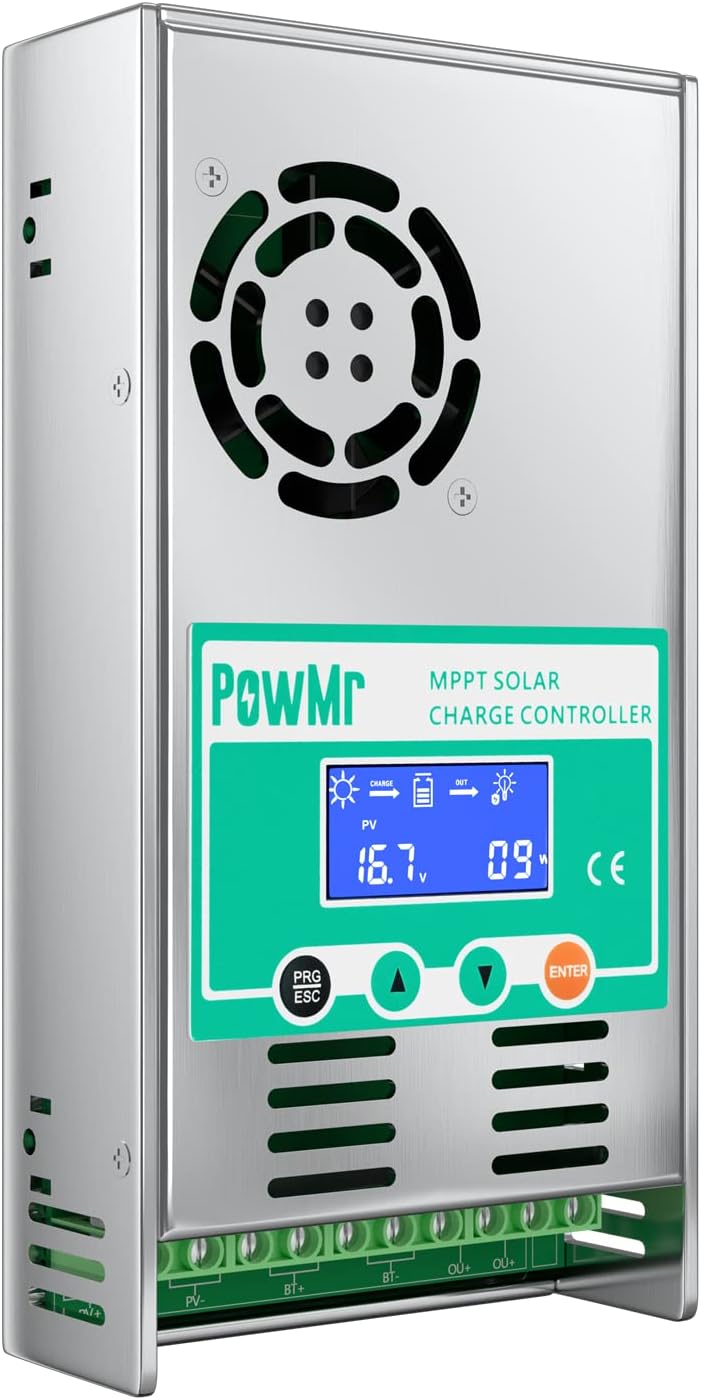


PowMr MPPT Solar Charge Controller 60 amp 48V 36V 24V 12V Auto - Max 160VDC Input, LCD Backlight Solar Charge Controller for Vented Sealed Gel NiCd Lithium Battery【Software Update Version】
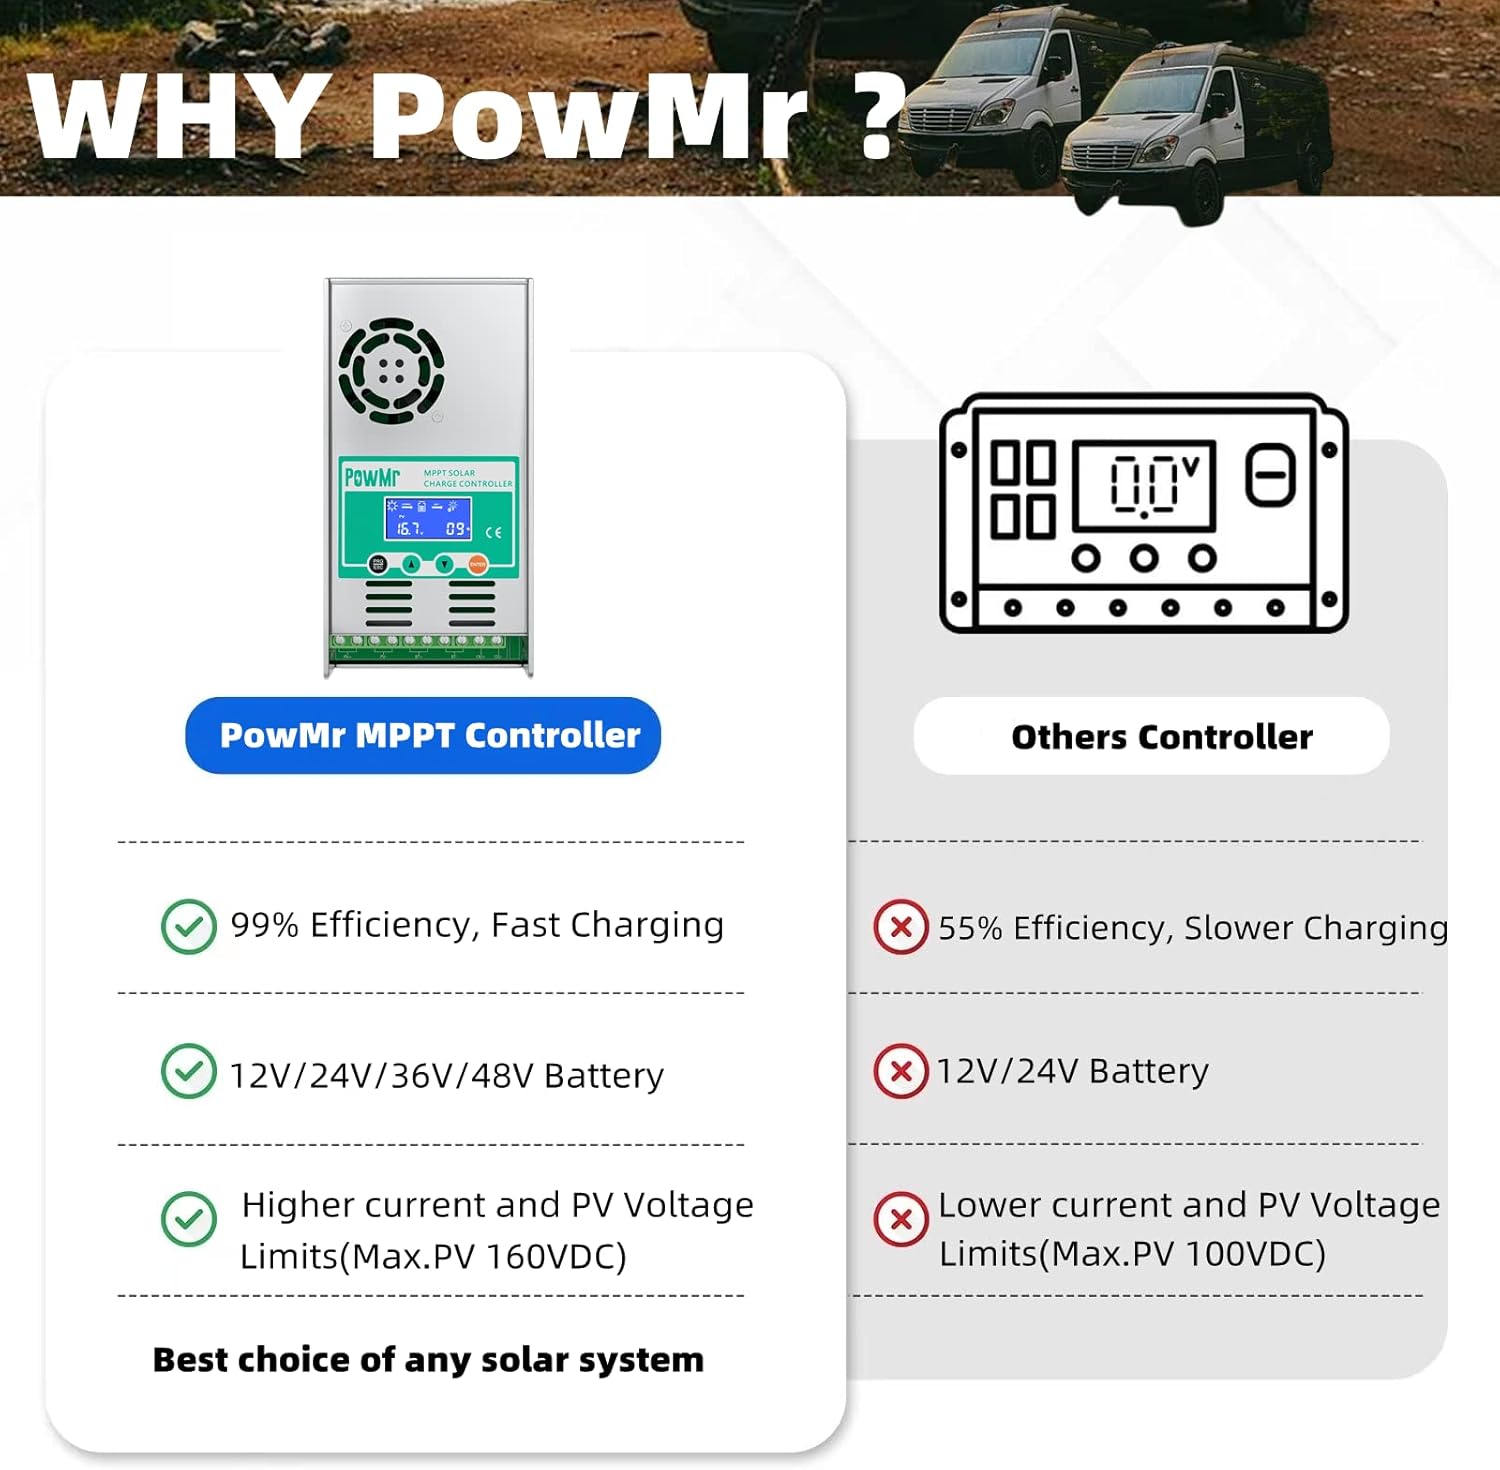
❶【Software Update MPPT Design 】100% MPPT 60A solar charge controller Intelligent, Max efficiency ≥98.1%, PV utilization ≥99%. Built-in DSP controller with high performance Automatic battery voltage detection 12V/24V/36V/48V, Make sure batteries' voltage more than 12V to boost controller and make sur
Quantity
-
Detail
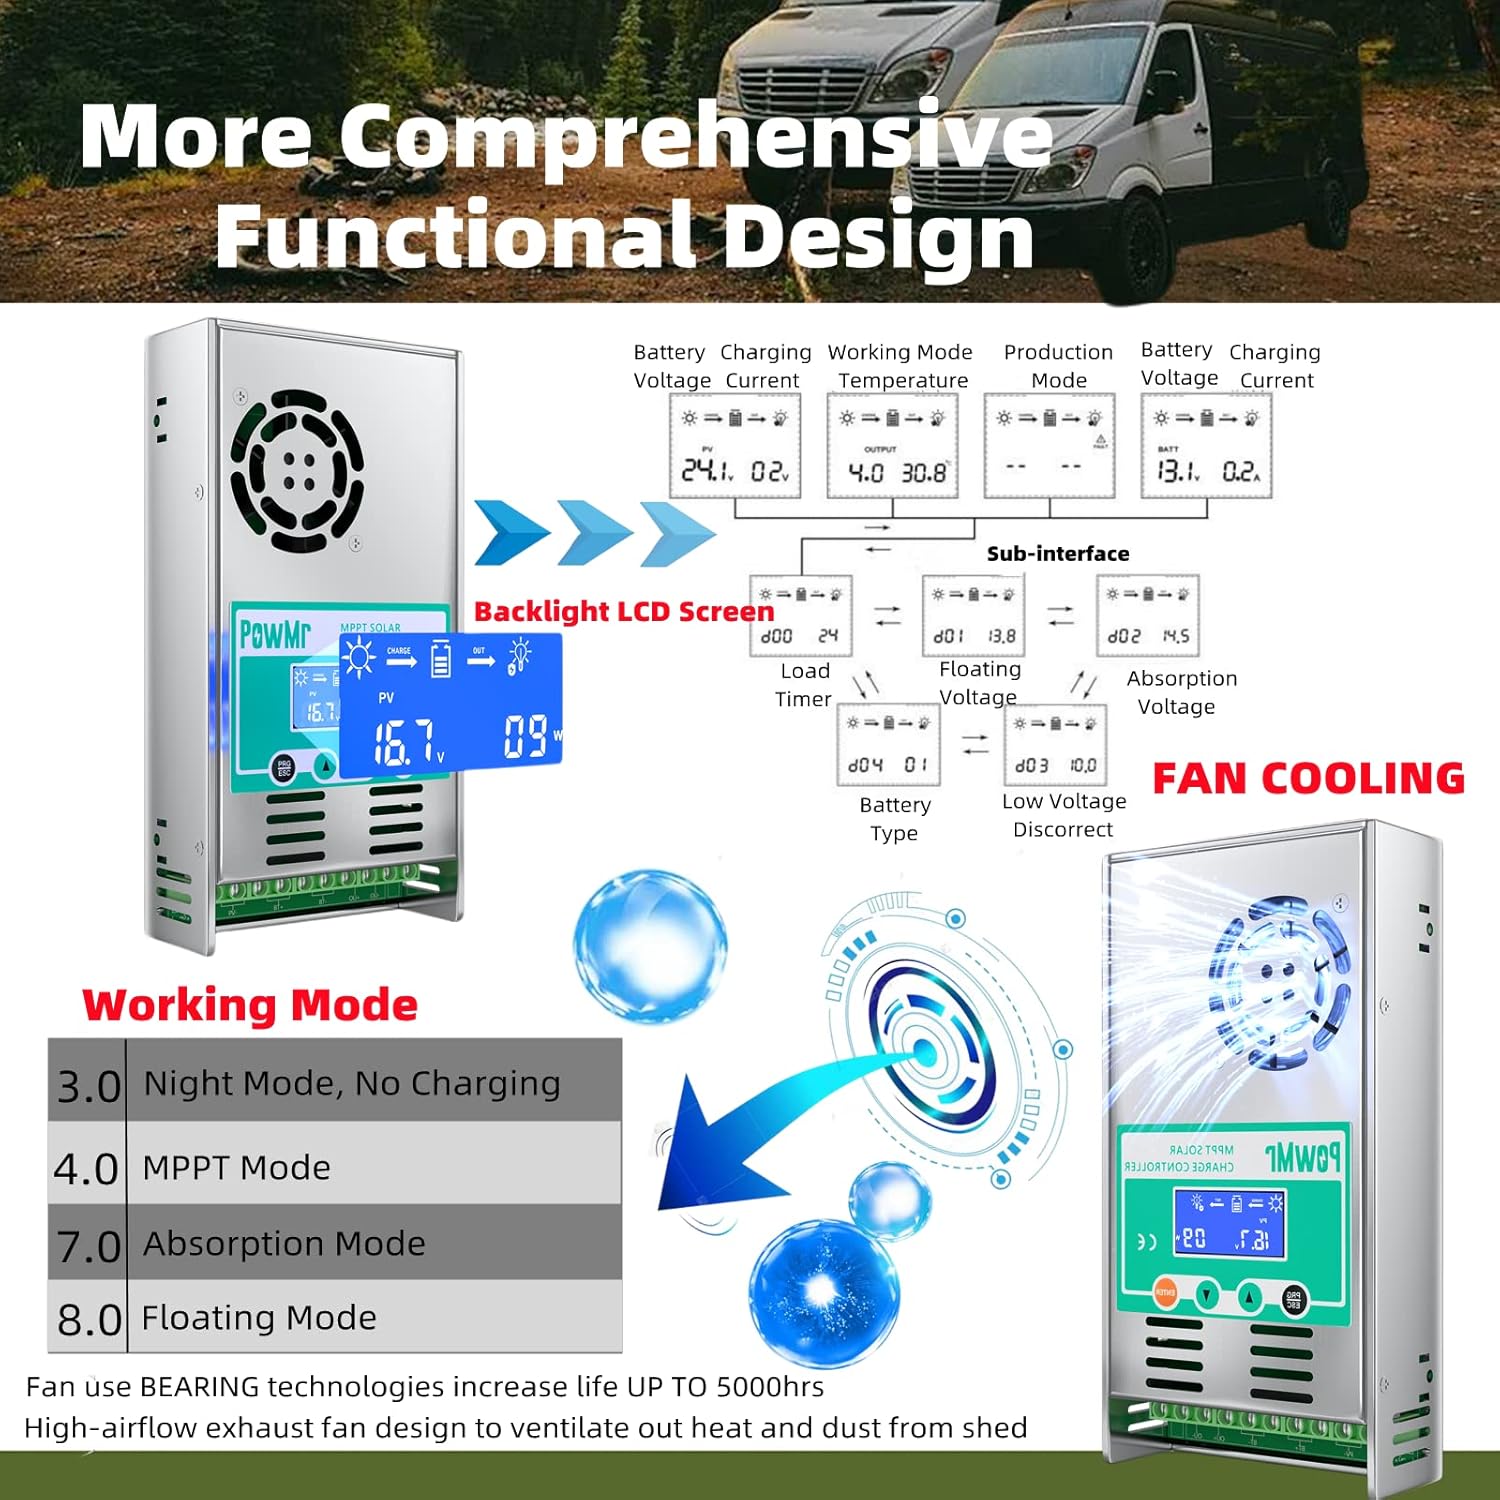
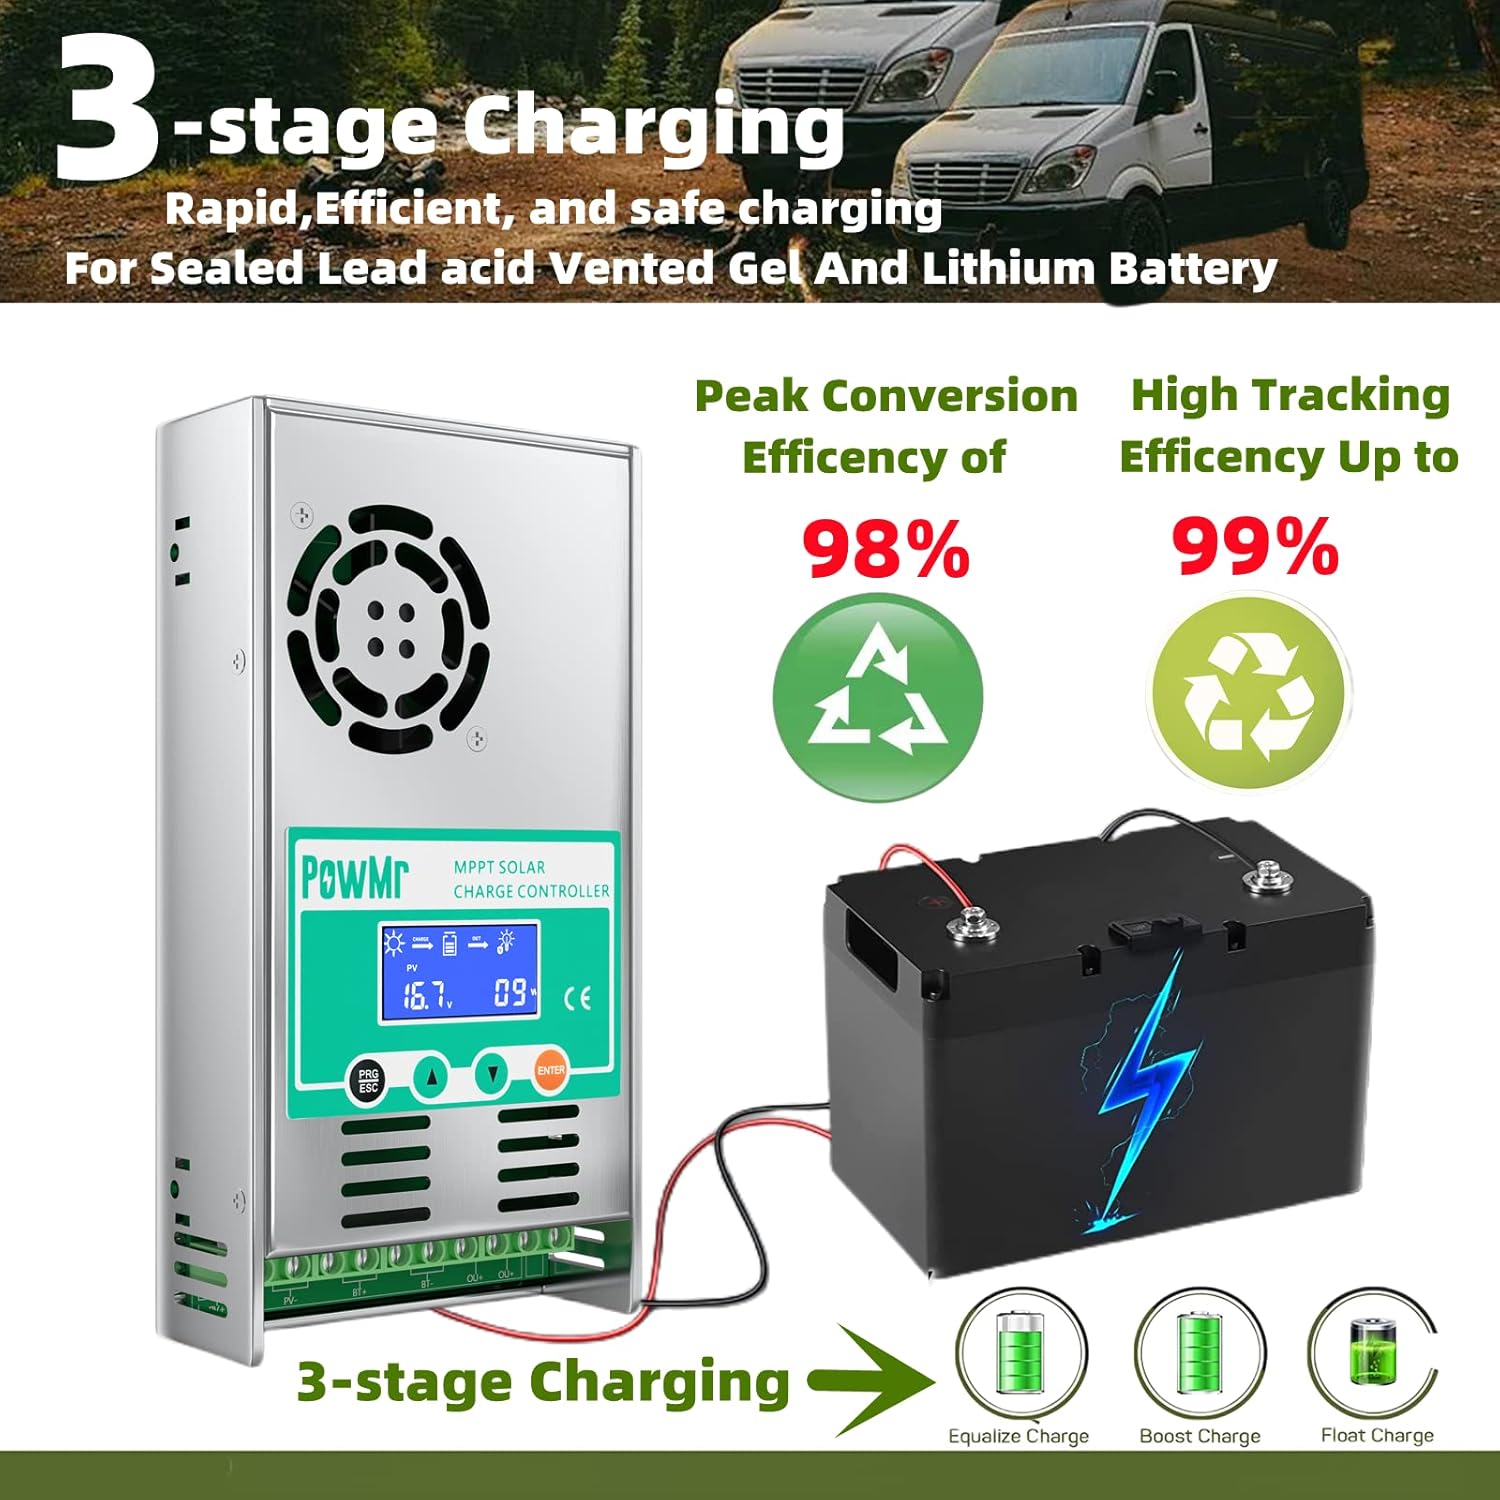
- Charging 3-stage: constant current(MPPT), constant voltage(Absorption Voltage), floating charge
- Selectable battery type Vented / Sealed / Gel / NiCd / Lithium battery (default isSealed) (defined voltage for other battery by user)
- Soft start time ≤1S, Dynamic response and recovery time 100us
- Max efficiency ≥98.1%, PV utilization ≥99%
- In order to reduce the cost of electricity caused by high current, PV and battery each have two terminals
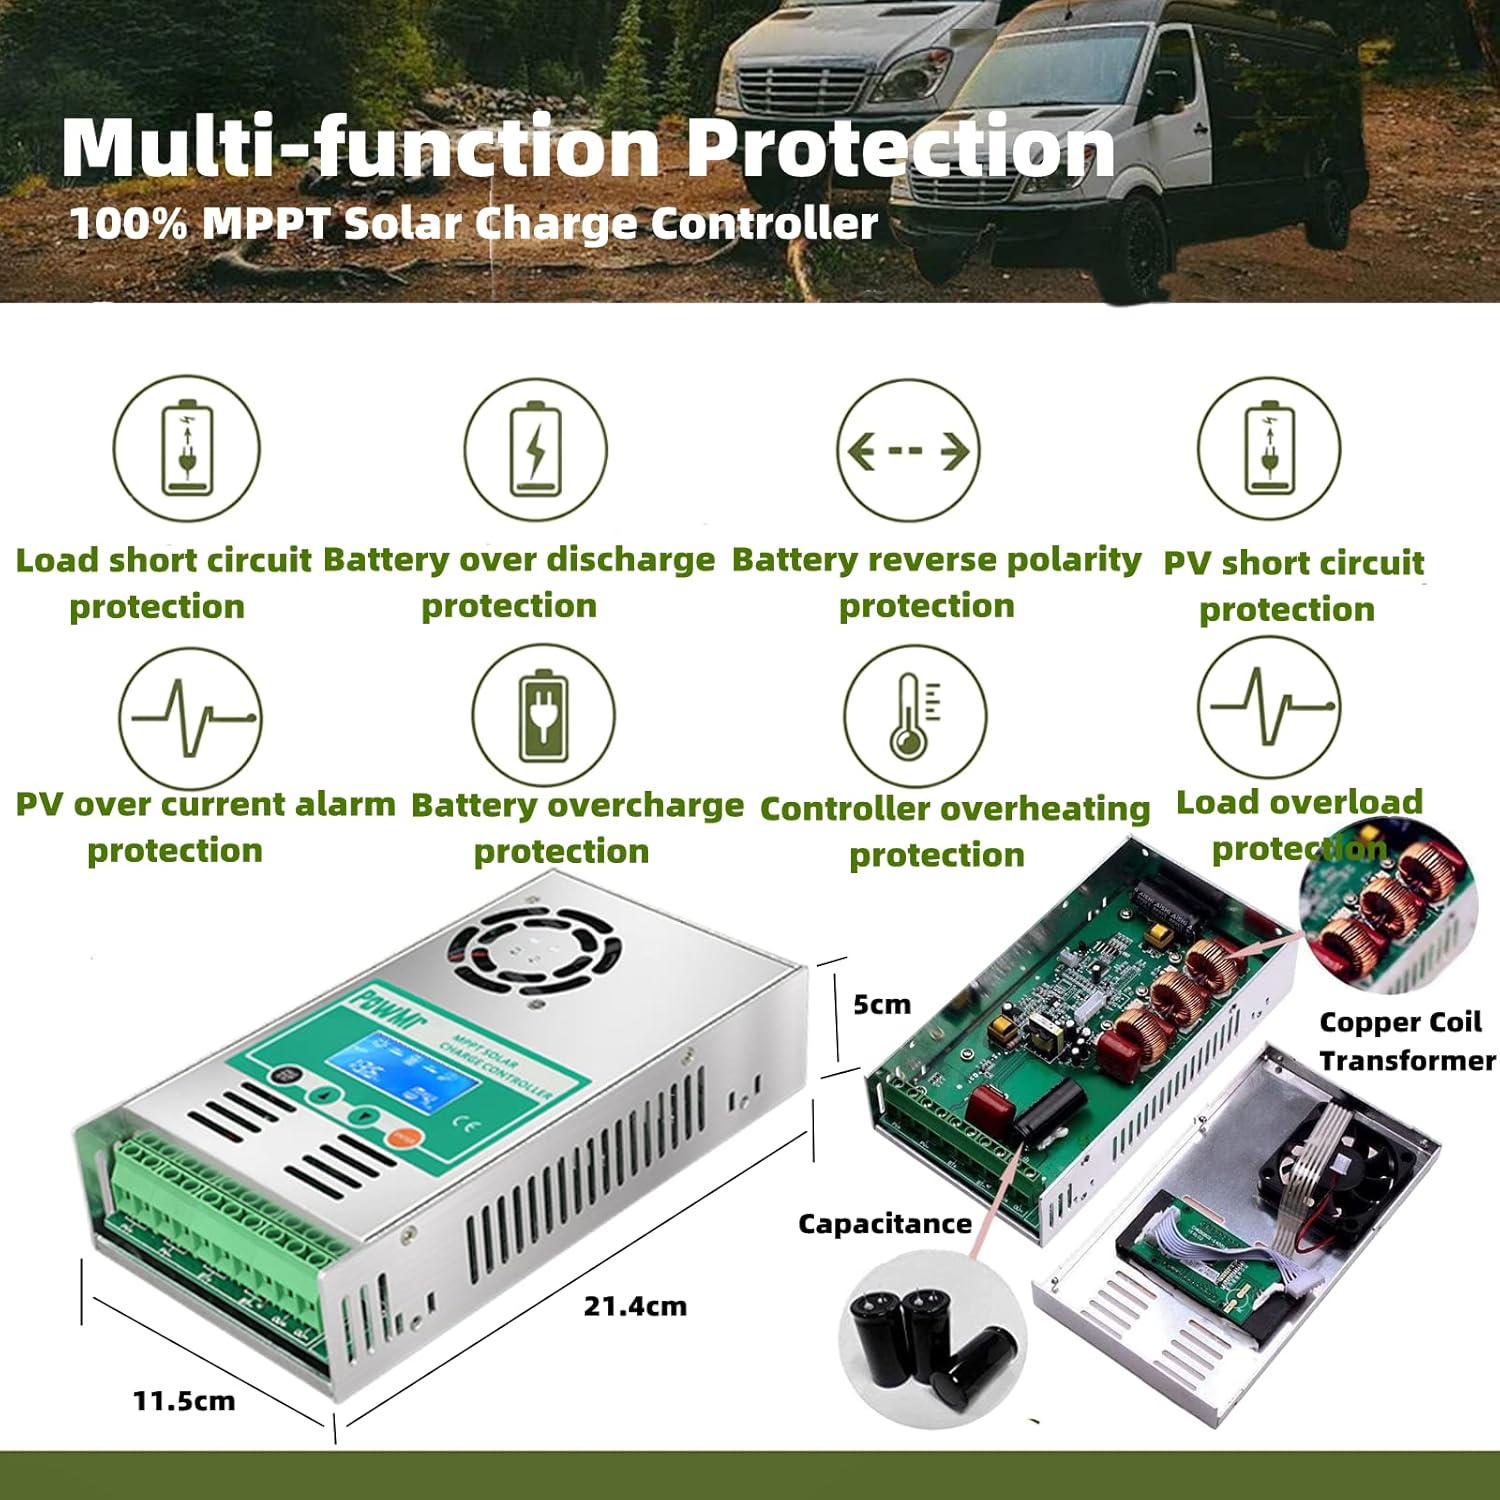
- MULTIPLE ELECTRONIC PROTECTIONS
- Short-circuting
- Reverse-current
- Overcharging
- Overload
- Over-discharging
- Reverse polarity protection
For sealed lead acid Vented gel And Lithium battery
Battery System Voltage:
- DC9V~DC15V (12V)
- DC18V~DC30V (24V)
- DC32V~DC40V (36V)
- DC42V~DC60V (48V)
True MPPT controller, The Three copper coils play a step-down roles to make your system work more stable.
Recommend connecting a fuse directly to the battery to protect any short circuit at the battery wiring (Fuse value:100A )
- Always connect battery first!!! Make sure enough batteries’ voltage let controller recognize the right system voltage. The disassembly sequence is contrary to the wiring order. NEVER connect the solar panel array to the controller without a battery
- DONOT connect any Inverter/ wind/ Alternator or Charger into the chargecontroller! connect the Inverter directly to the battery.
- Ensures solar input voltage higher 3V or more than batteries’ voltage and total input power in the range. if input power is too low for max input power, it maybe appears to have been discontinued., the charging current almost be zero when controller is floating charge.
- Parameter Setting Rules:Floating voltage > Low voltage reconnect > Low voltage discharge.
- Thesolar controller will stop output when the battery under10.7V. The LCD will be blank when the battery under 8V and itwill re-output when the battery up to the 12.6V (adjustable).
- Installthe Charger controller to the battery as close as possible. Tighten the wire, Carefully read battery manuals before operation.
- When controller makes buzzing sound because of It's working hard todissipate heat for your controller. Rest your heart, it will be stopwhen temperature return to normal.
- Remove all the debris around the controller ( leaving a space of approx. 5.91in ).Make sure all connections going into and from the controller are tight. Do NOT let the positive (+) and negative (-) terminals of the battery touch each other.
FEATUREs
Positive Ground 60A MPPT Charge Controller
12V/24V/36V/48V System Voltage Automatic Identify
OUR DESIGN FOR YOU
COPPER COILS
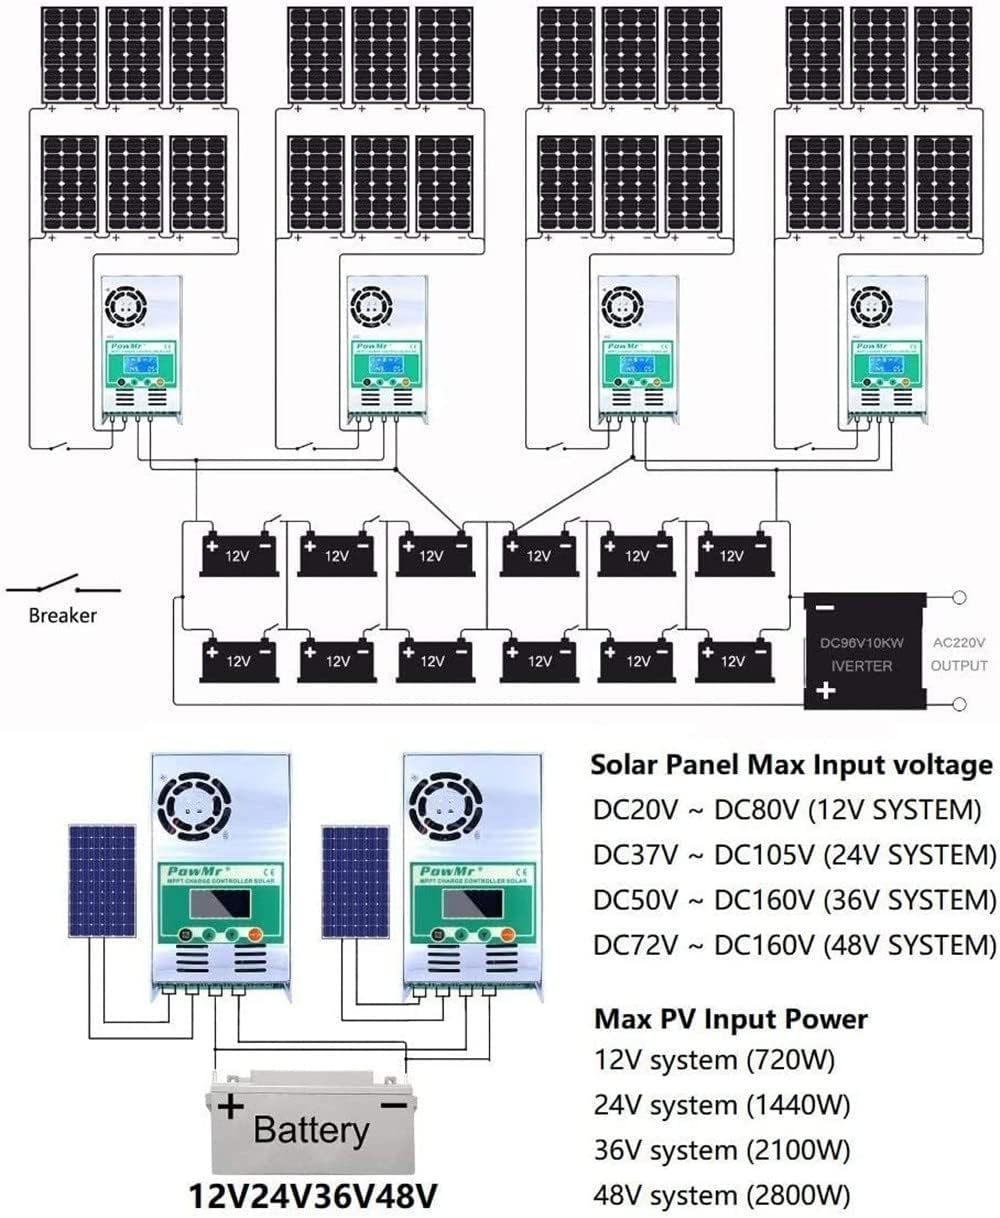
Wide Application
Work Independently
CONNECTION DIAGRAM
TIPs
-
Customer ReviewsNo comments